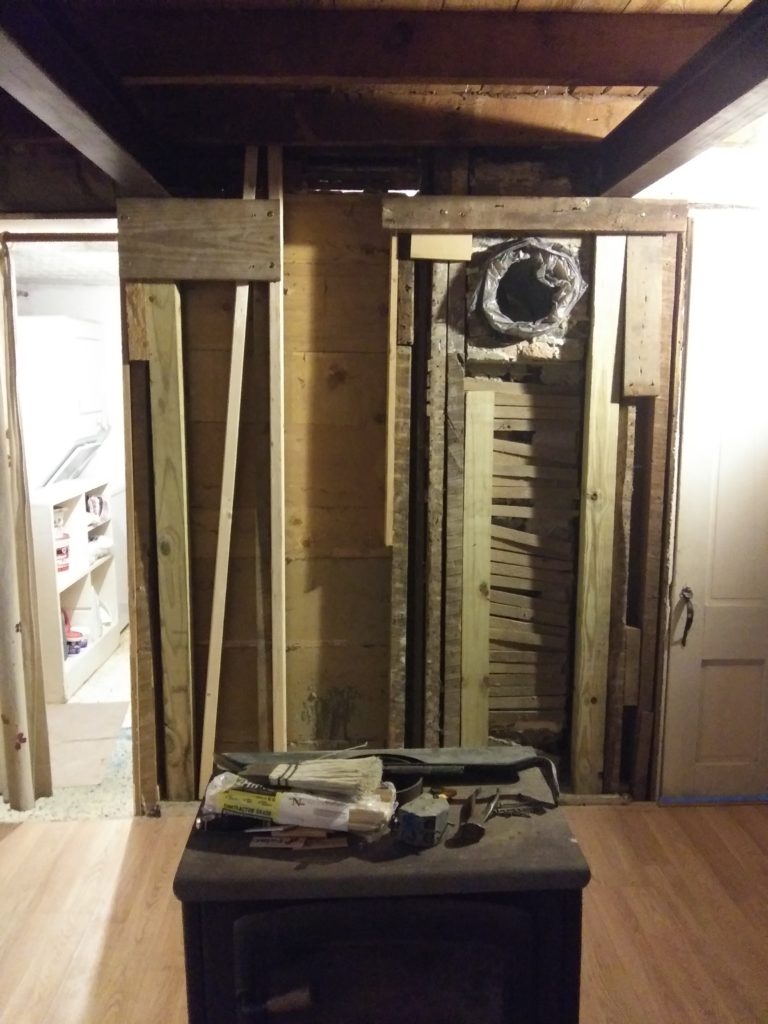
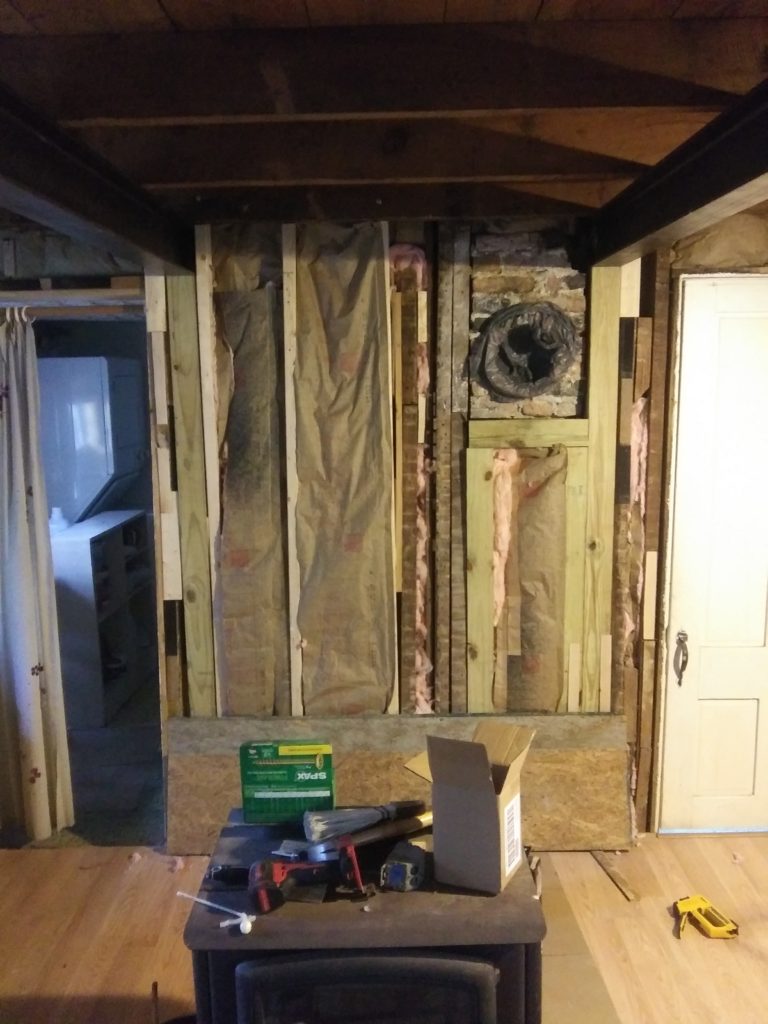
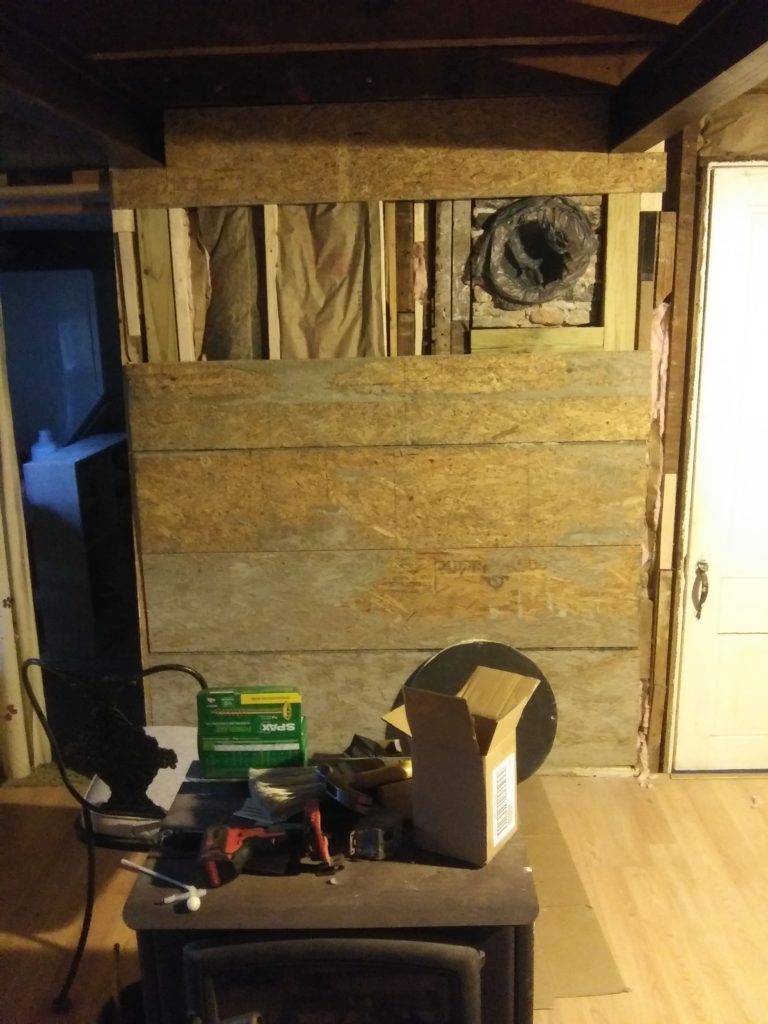
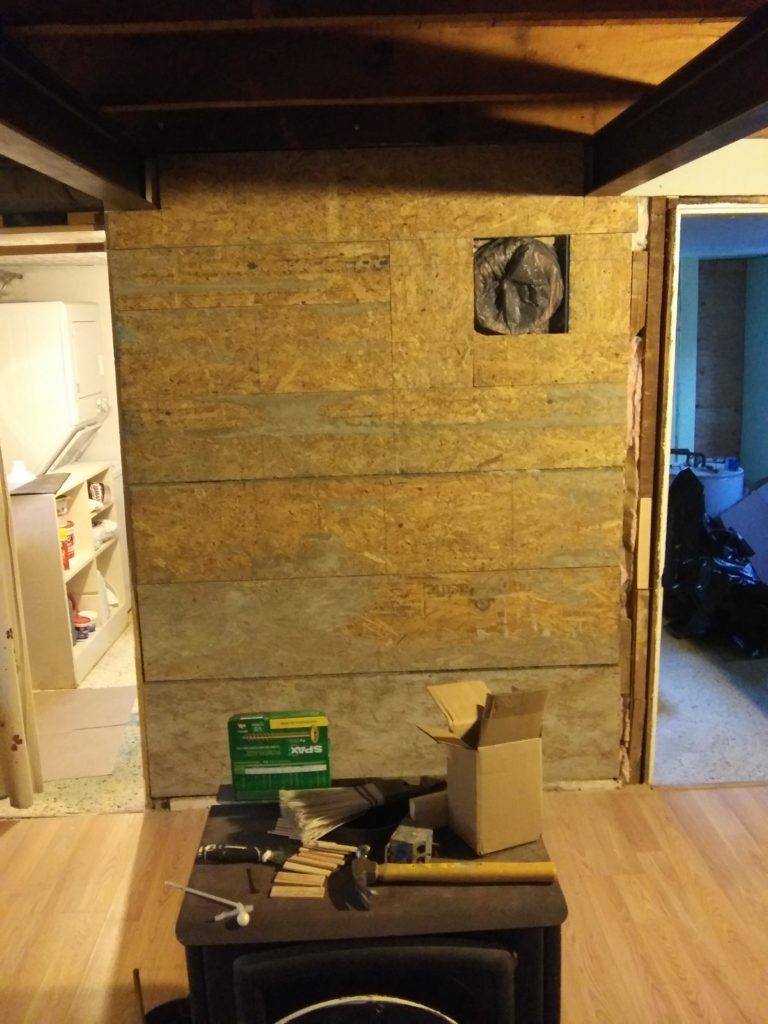
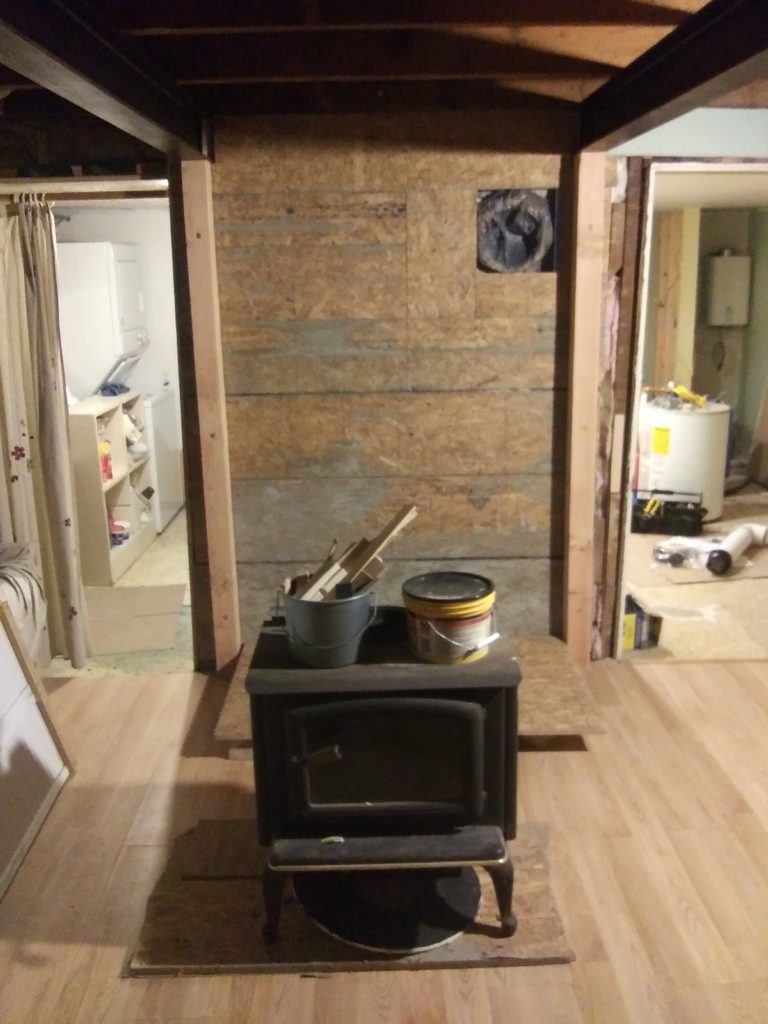
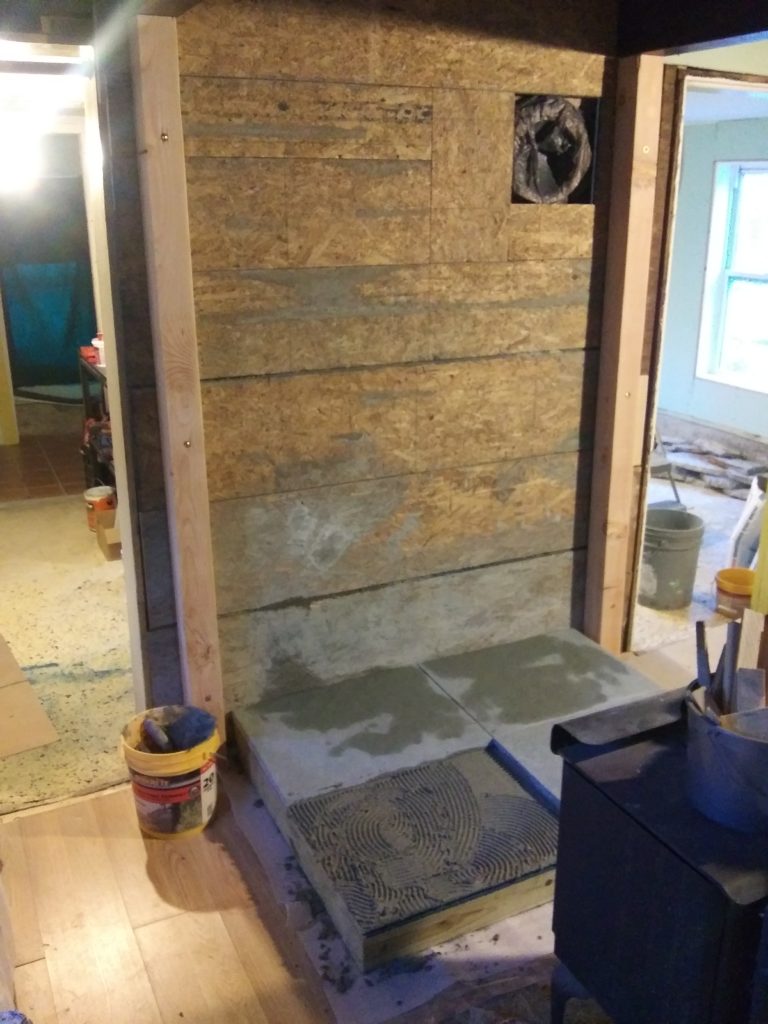
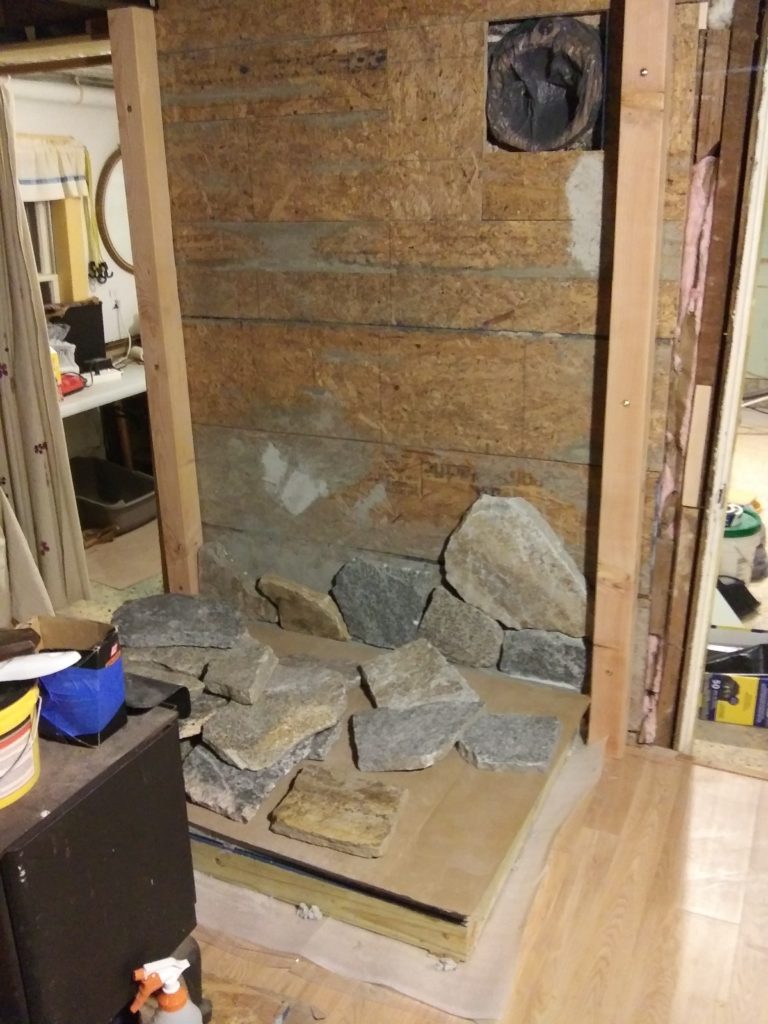
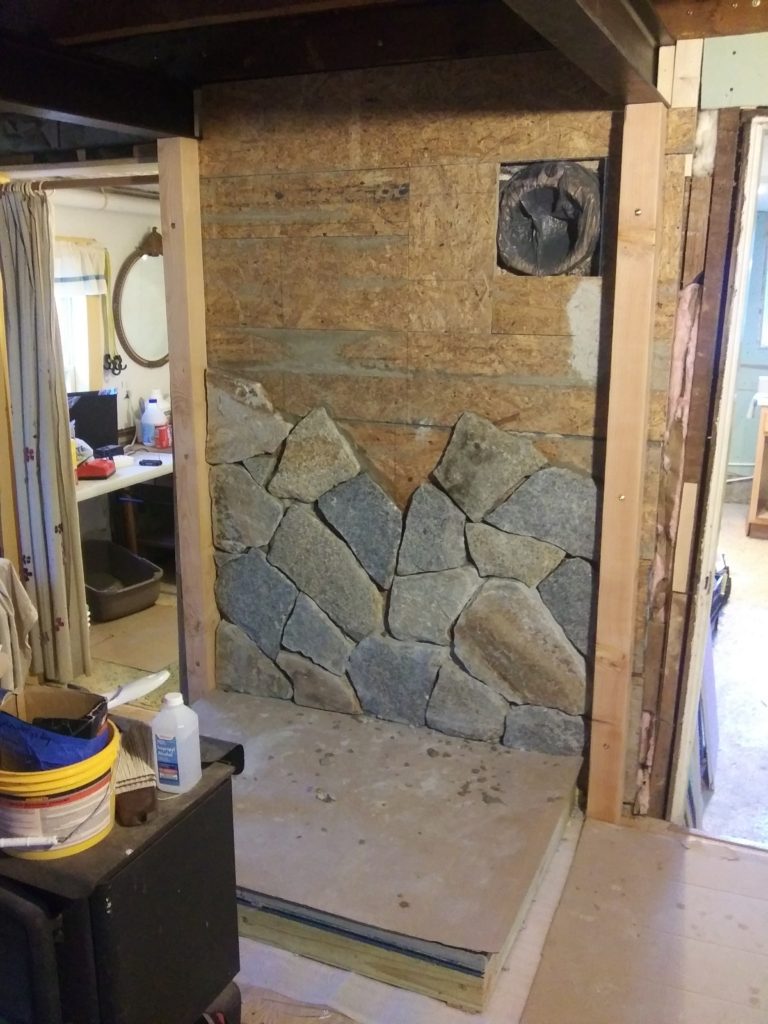
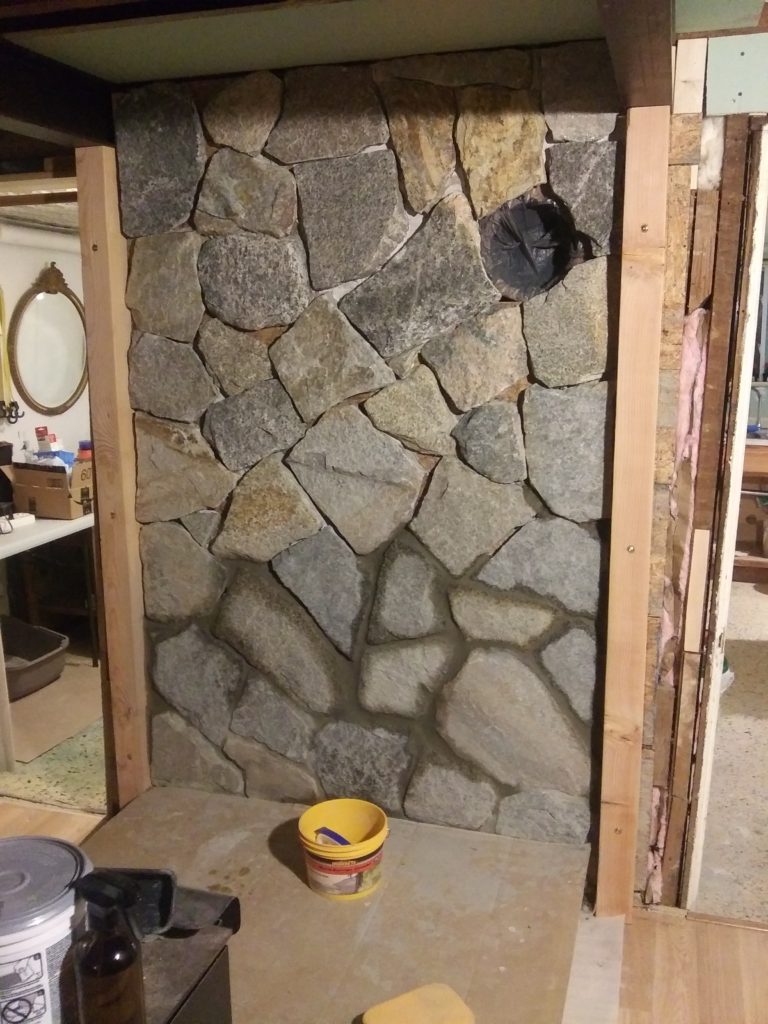
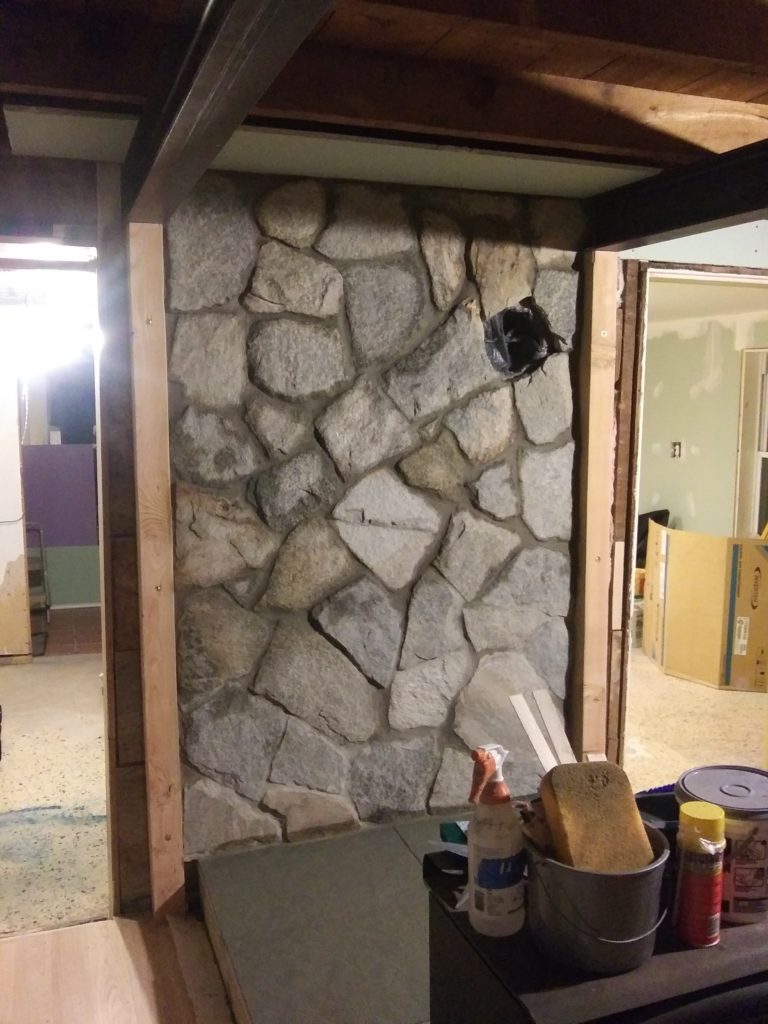
At last, here is the full beginning to end photo journal of building a wood stove stone hearth! (This all began way back in mid-November.) Phase 1: Piecing together as level a wall as possible around the old chimney and our new steel beams. The wall must be super structural to support the heavy stone and seal in our beam posts. The beams are bolted through neighboring studs and the whole thing sheared up with 3/4″ OSB.
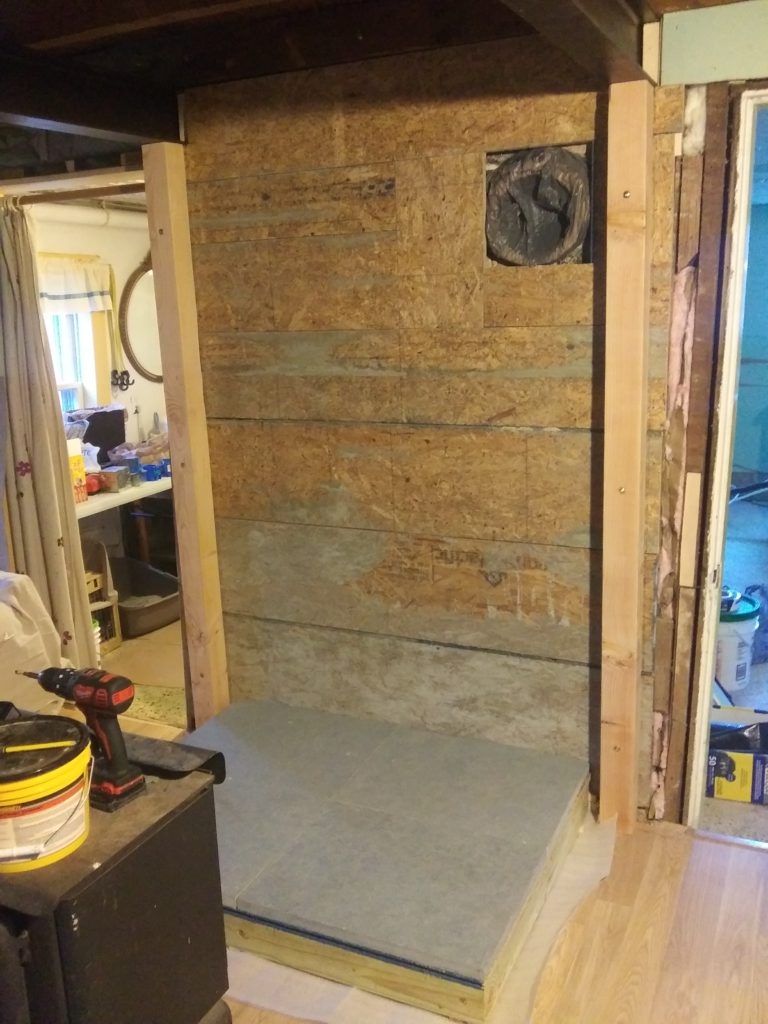
Phase 2: Building the hearth base with 4 slabs of 2″ Bluestone. A second set of exposed 4×4 posts were added beneath our beams and will be a finish detail that frames the hearth.
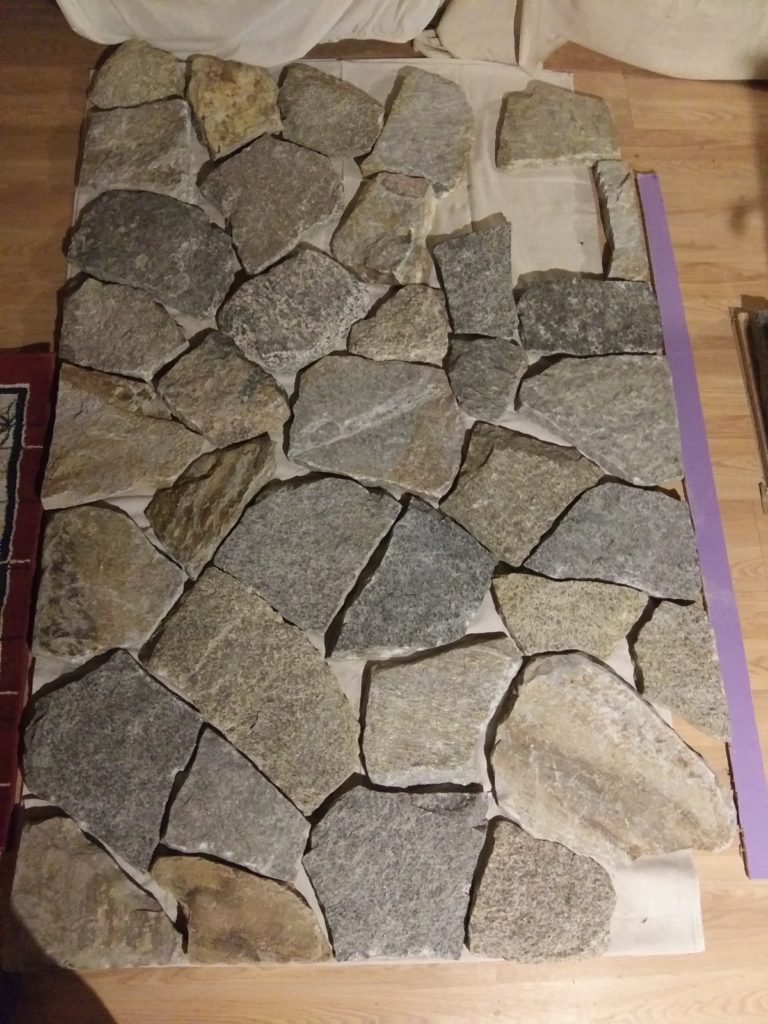
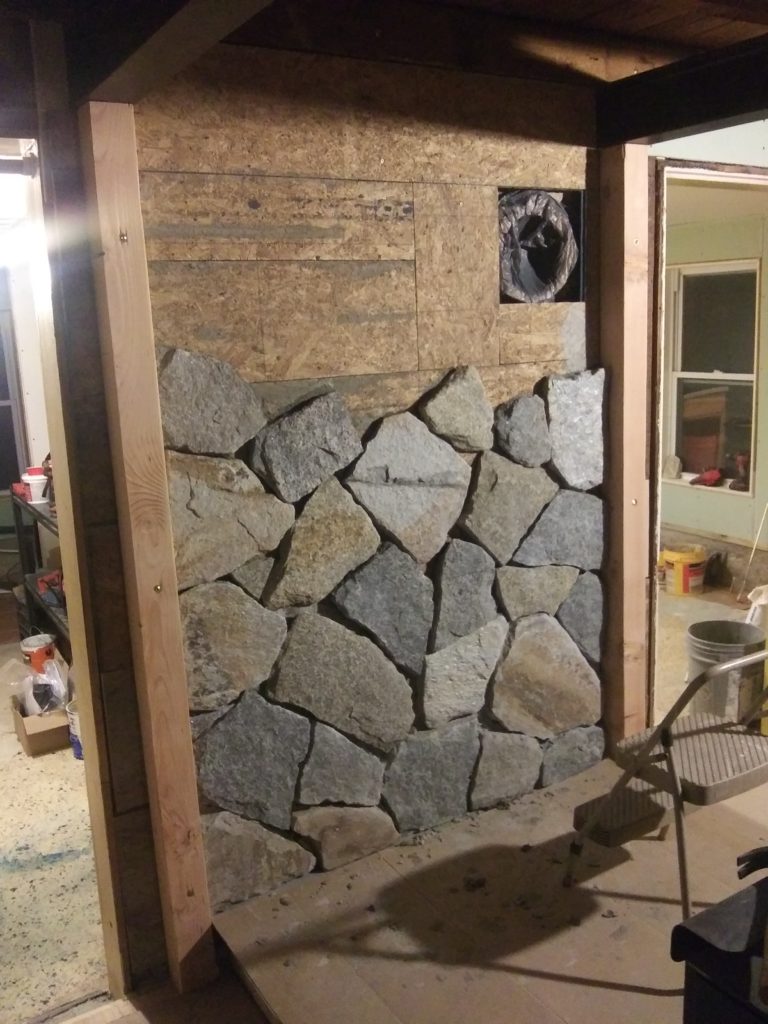
Phase 3: The Stone! We first laid out a mock-up design on the floor, which was helpful but ultimately diverged from:) Each stone is 5-20 lbs, so they are mortared one level at a time, each level slightly balancing its weight on the next…until we reach the top!
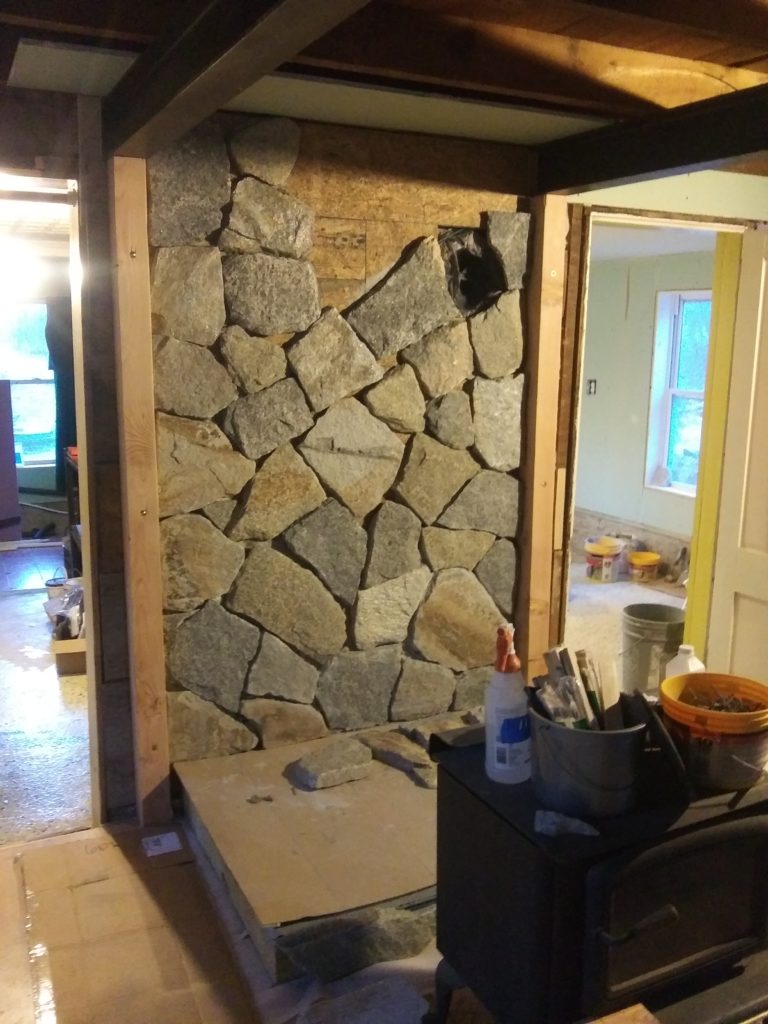
Phase 4: Grout! And I thought Tile Grout was difficult…this was next level. I eventually decided that just squishing it in with my bare hands was the easiest method. It took a few bloody fingertips and LOTS of sponging to keep the joints looking nice and the stones clean.
Phase 5: The stonework is complete and cured and the stove goes up! There was a brief design moment where we got lazy fighting with stove pipe and thought to put it in its original location. In the end, the pipe was conquered and cut. We are pleased with its new orientation which exposes more stonework and leaves a perfect sized spot for our wood caddy to the left:)
All that remains is for the pipe cement to cure, base trim and finish grout around the pipe, and our first Fire! I wound up looking like a Chimney Sweep:)

